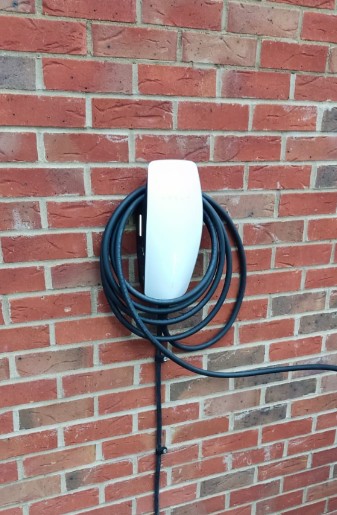

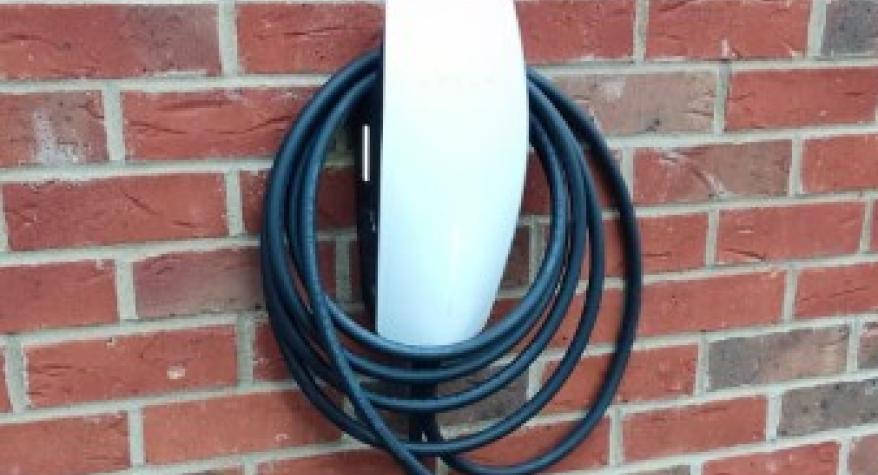
This week I installed a Tesla car charger at a property where getting the cable outside took considerably more work than fitting the charger itself.
The main electrical supply was in a cupboard underneath the staircase, right in the middle of the house. That meant we couldn’t simply run a short cable through an outside wall and straight to the charger. We needed a dedicated circuit from the supply area, across the lounge and out to the side of the property.
It became a long day, with a few challenges along the way, but we found a route through the ceiling void that kept most of the internal cable out of sight. By the end, the charger was installed and the customer was happy.
Starting with a look above the ceiling
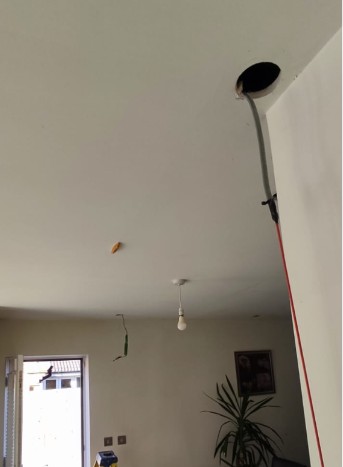
One helpful detail was that the lounge already had recessed spotlights. I removed one of the fittings so I could look into the space between the lounge ceiling and the floor above.
Before deciding how to get the cable across, I needed to see which direction the joists ran. That can make a considerable difference to the work involved. A route that looks straightforward from below might be much less convenient once you see the structure above the plasterboard.
Luckily, the joists ran parallel to the direction we needed to take the cable. That gave us a useful path across the lounge towards the outside wall
It was a welcome discovery. When the main supply is in the middle of a finished house, finding a concealed route takes some thought, and an existing spotlight opening can provide a valuable first look.
One access hole made the route possible
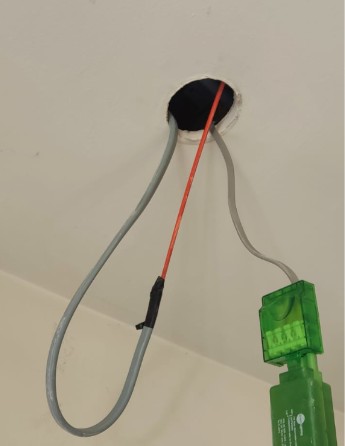
I still needed to make one access hole, approximately 100 millimetres across, to help bring the cable from the cupboard area into the ceiling void.
That opening allowed me to fish the cable through and guide it into the route across the lounge. From there, I could continue through the space between the ceiling and the floor above, following the direction of the joists.
This is the part of an installation that customers don’t usually see in a photograph of the finished charger. There’s quite a bit of planning and patient cable handling behind getting the supply from one part of the house to another.
For anyone considering a charger, the position of the main electrical supply is therefore just as useful to know as the position of the driveway. The distance matters, but so does everything between those two points.
If you’re considering an EV charger and your meter or fuse board is somewhere inside the house, feel free to get in touch. We can look at possible cable routes and work out what the installation will involve before booking the job.
Bringing the cable outside
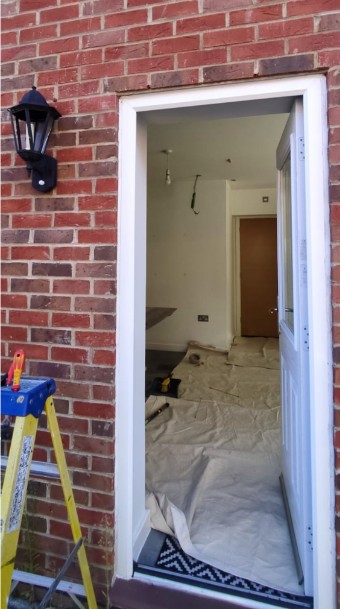
Once the internal route was established, I drilled through from outside into the ceiling void so we could bring the supply out at the side of the property.
Getting that position right was another important part of the job. The cable needed to emerge into the space we had been using, rather than meeting a joist or coming through somewhere unsuitable.
Outside, we ran 6 mm² steel wire armoured cable to the charger position. The route changed from concealed cabling inside the house to an external cable suited to that part of the installation.
By this stage, the job was beginning to look much closer to the finished result. The awkward section through the house had been dealt with, and we could complete the connection to the charger.
Protection to suit the charger and supply
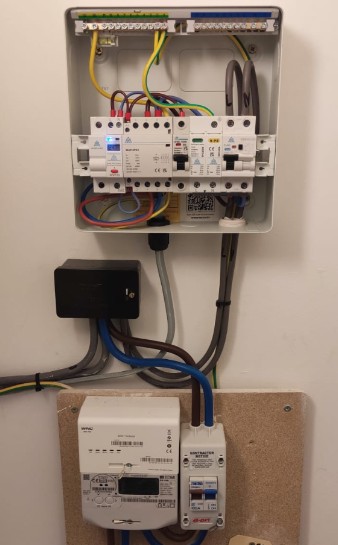
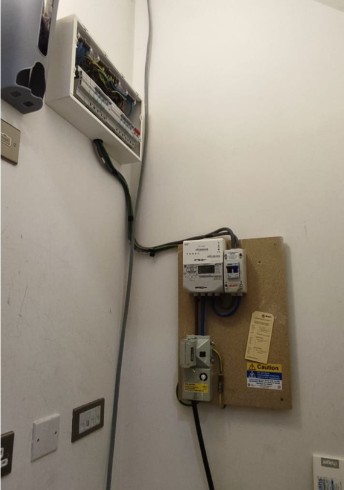
There was another detail to address with this installation. The Tesla charger we fitted did not have built in PEN fault protection, so I supplied and installed a separate protection device for the circuit.
This property has a TNCS earthing arrangement. For this installation, the external device provided the additional PEN fault detection and disconnection protection needed for our chosen arrangement.
In everyday terms, this protection deals with a particular fault involving the electricity supply’s combined neutral and earth conductor. It’s something the installer needs to consider alongside the charger’s own features, rather than assuming every charger includes the same protection.
It was a full day of working through the route, getting the cable into position and completing the installation. Seeing the charger in place at the end, with a happy customer, made the effort worthwhile.
If you’re planning a Tesla charger or another home EV charging installation in Wokingham or the surrounding area, get in touch.
I’m happy to assess the existing supply, discuss the cable route and provide a quotation for the work.